Farm in 1.0: prepare ground, plant, fertilize, water and harvest
Updated 2026-11-17 · 1.0 fresh world · November 2026
Use fertile paving to prepare farmland, place seeds from your inventory, apply fertilizer of the correct tier, then water the planted crop with filled buckets. Wait for growth and harvest the plant in the field. This replaced passive farming-station crop slots; you no longer process a harvested plant as a separate step.
Supporting guides
Step by step
Prepare one small planting cycle
Bring seeds, the correct-tier fertilizer and filled water buckets before filling a field. Use the seed or crop entry in Compendium → Obtain to check the crop’s requirements. Prepare farmland through the paving system on fertile ground, or use an existing suitable field; official notes say this farmland can be used by all players.
 Open full-size image ↗
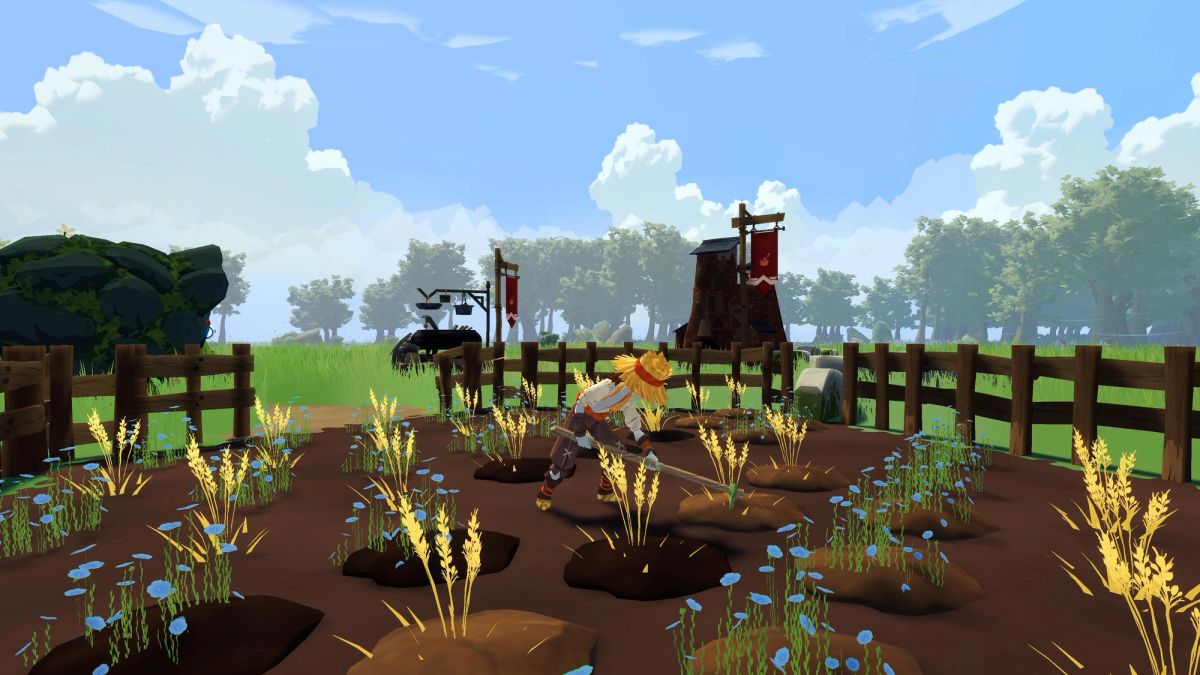
The reworked system grows and harvests crops in the field. Official November 10 image; it does not show every preparation action. Place the seed, then inspect the planted crop
Right-click the seed in inventory and choose its Place Planted action. In the public 1.0 Basic Wispweave example, the menu reads Place Planted Basic Wispweave. Place one crop before scaling the batch and read its state. That example spends five seeds per placement; check the current crop recipe rather than applying five to every crop.
Fertilize and water each planted crop
Interact with the planted crop to apply fertilizer of the required tier. In the Basic Wispweave example, the label changes from Planted to Fertilized Planted. Interact again with filled buckets available to water it; the next state is Growing. Watering keeps the bucket, so retain and refill the empty containers.
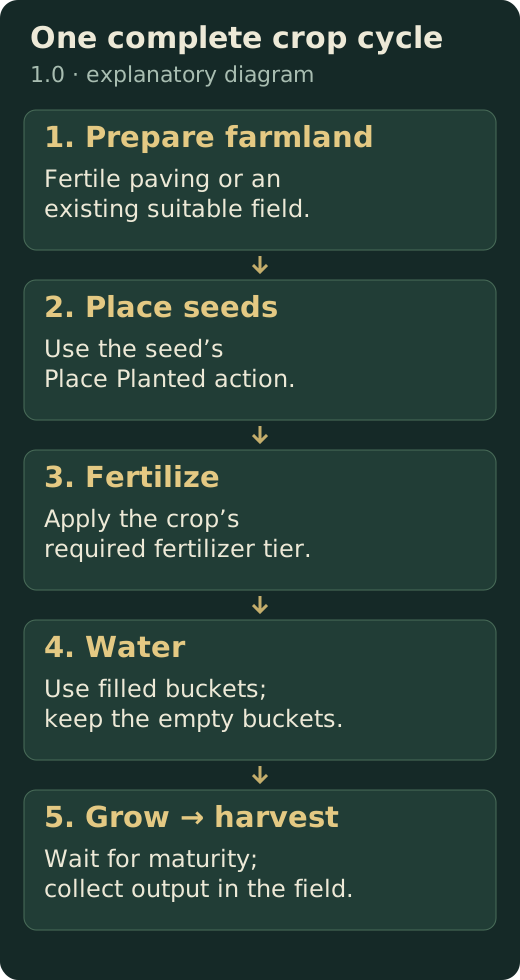
The complete current crop cycle. Original explanatory diagram; not a game screenshot. Read the crop state, then take the next action State in the Basic Wispweave example Next action Planted Apply the required fertilizer Fertilized Planted Water the crop Growing Wait for growth Grown Harvest in the field Harvest and reserve the next planting inputs
Once the crop is grown, harvest it directly. In the observed Basic Wispweave cycle, the output includes seeds and filaments rather than a plant that must be processed again at the farming station. Read the actual crop output before selling or processing it. Keep the inputs for your next cycle and increase field size only when you can complete every crop’s fertilizer and water steps.
How to know it worked
A planted crop reached Growing, later became harvestable, and you collected its field output. Your next cycle has seeds, matching fertilizer and refilled buckets ready.
If you’re stuck
If a crop stays Planted, check fertilizer and its tier. If it stays Fertilized Planted, bring filled buckets and water it. If placement is refused, inspect the ground/paving and the current seed requirement. Do not wait at an old passive crop slot for the new system to finish. The video is one crop example; this guide does not promise universal growth times, harvest quantities or profit.
Sources & further reading
- Clockwork Labs — November 10 system changes
- Clockwork Labs — 1.0 patch notes (November 13)
- Public 1.0 farming demonstration — Ep.02 (planting at 9:25)
Game details can change with updates. This guide applies to the version shown above.